When it comes to home projects, painting your ceiling may not be the first thing that comes to mind. However, a well-painted ceiling can make a significant difference to the overall aesthetic of a room. Ceiling paint can brighten your living space, hide imperfections, and add a final aesthetic touch to your interior decor.
This detailed guide prepared by Baumerk, construction chemicals specialist, will show you how to paint ceilings step by step to ensure you get a professional-looking result.
Preparation Process

Before you start painting your ceiling, it's important to be well-prepared. Here's what you will need:
1. Brushes and Rollers
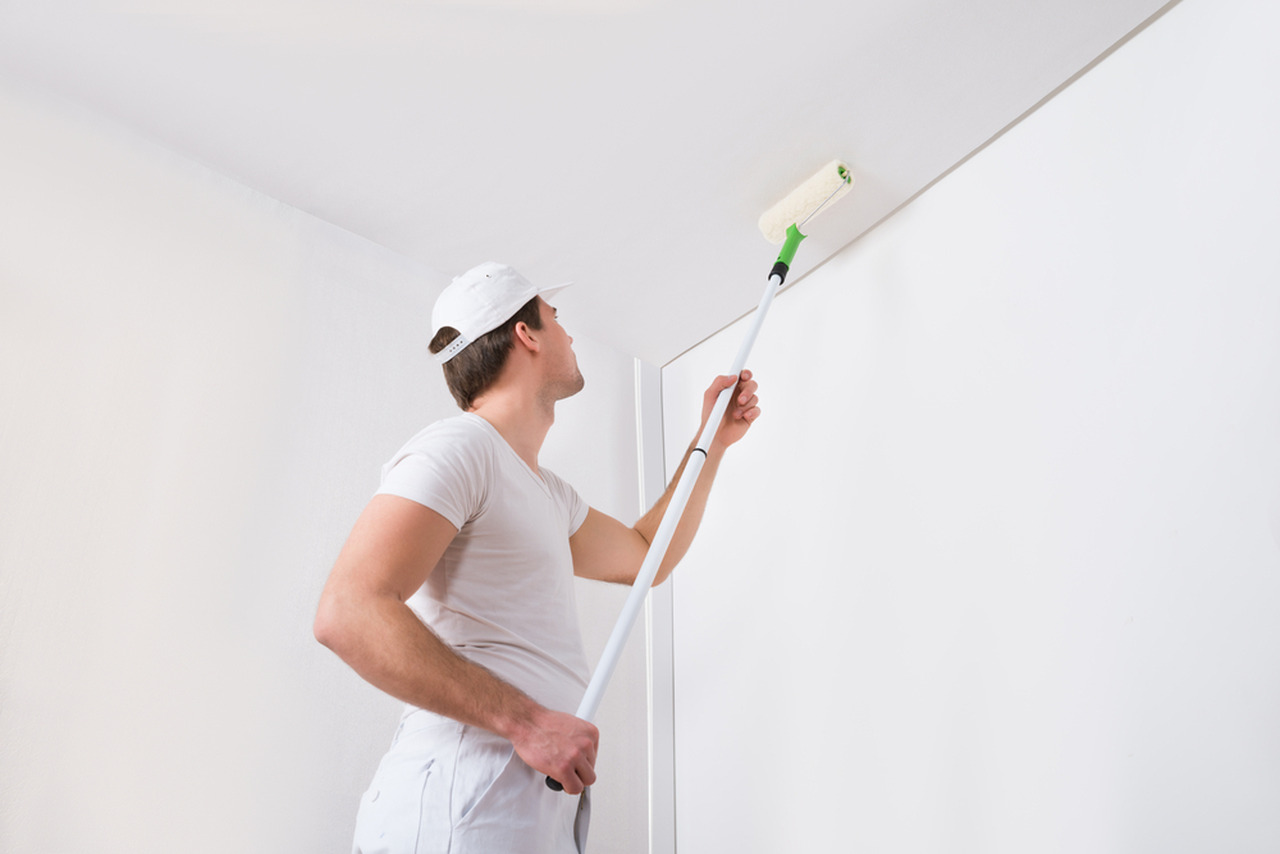
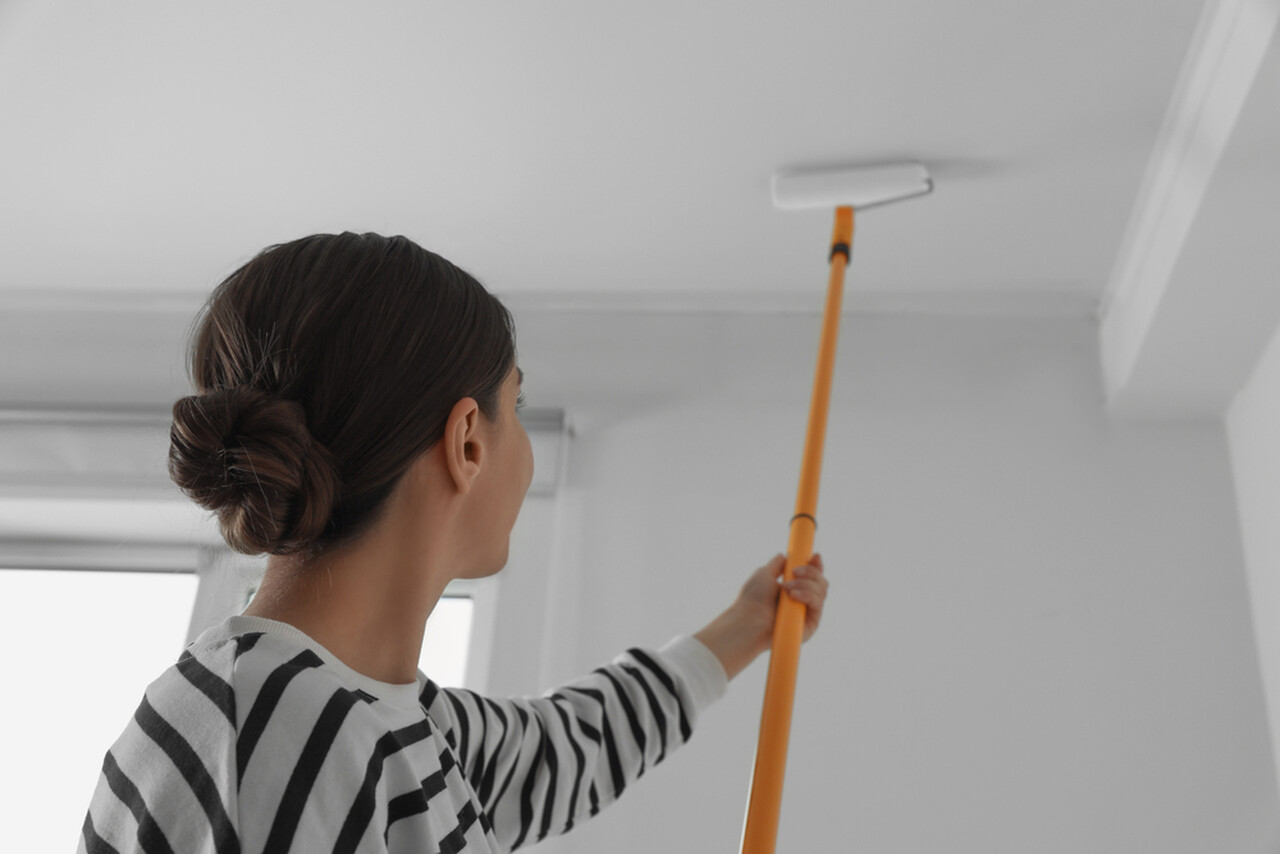
Make sure you have a variety of brushes and rollers on hand for applying both primer and ceiling paint. A roller with an extension pole will be particularly useful for efficiently painting large ceiling areas.
2. Plastic Sheets
Cover the entire floor area with drop cloths or plastic sheets to protect from paint splashes and drips.
3. Masking Tape
Use painter's tape to mask the areas where the ceiling meets the walls and any fixtures you can't remove.
4. Sandpaper
Sandpaper is necessary to smooth out rough spots or imperfections on the ceiling.
5. Primer
A high-quality primer is essential to ensure that the paint adheres properly and is evenly coated.
At this point, you can have detailed information about the importance of primer paint by reading our content titled What is Primer Paint? Why is It Important?
6. Ceiling Paint
Choose a ceiling paint that suits your preferences and the requirements of the room. It is generally recommended to use a smooth or matt finish for ceilings.
7. Staircase
Depending on the height of your ceiling, you will need a ladder to reach the entire surface.
Cleaning the Room and Protecting the Furniture
Before you start painting, remove all furniture from the room or cover it with plastic sheets. This will prevent accidental paint splashes or damage to your furniture during ceiling painting.
Patching and Repairing Ceiling Defects
Inspect the ceiling for cracks, holes, or other defects. Use an interior putty to fill these areas and sand them smooth once dry. This step is crucial for achieving a flawless finish.
Sanding the Ceiling Surface
Lightly sand the entire ceiling to ensure that the paint adheres properly and the surface is smooth. This will help remove any loose or flaking paint and create a better surface for the primer and paint to adhere to.
Priming
Priming is a critical step in the ceiling painting process. It prepares the surface by creating a smooth, even base for the paint to adhere to. Priming also helps hide imperfections, stains, and discolorations on the ceiling.
Choosing the Right Primer
Choose a primer specifically designed for ceilings. This type of primer is formulated to minimize drips and splashes, making the application process smoother. Depending on the condition of your ceiling and the type of paint you plan to use, you may need a primer with stain-blocking properties.
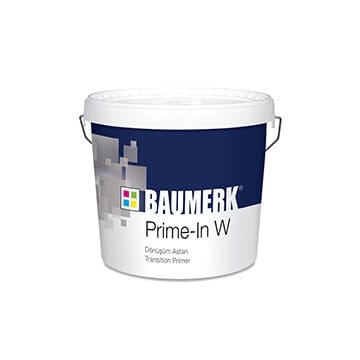
Prime-In W Transition Primer - PRIME-IN W, specially developed by Baumerk, allows you to achieve spectacular results in your ceiling painting projects, making it possible to implement your projects in the most beautiful way!
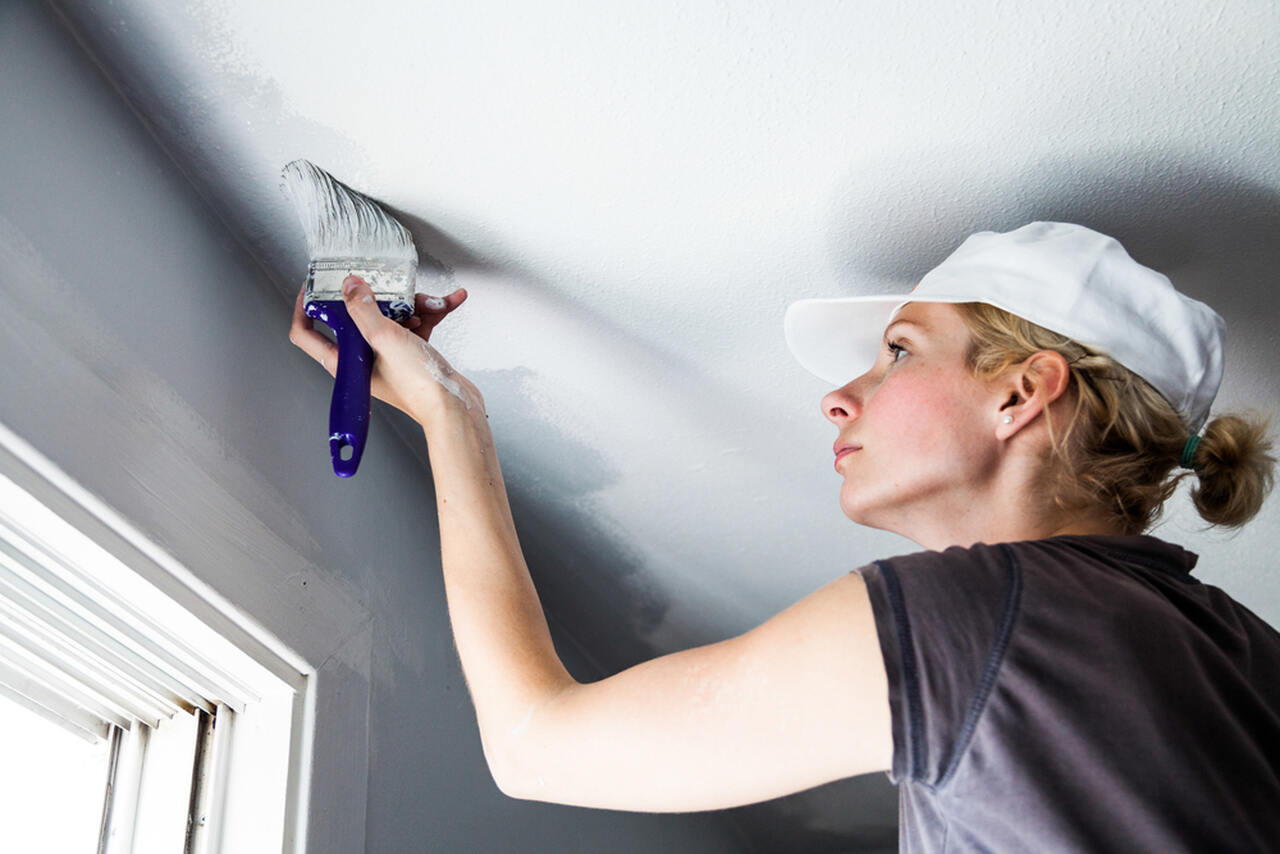
Applying the Primer to the Ceiling
Start by cutting the edges of the ceiling using a brush. This means painting a narrow strip of primer along the perimeter of the ceiling where it meets the walls. Next, use a roller to apply primer to the main ceiling area. Work in small sections to ensure even coverage.
Drying and Sanding the Primed Surface
Allow the primer to dry according to the manufacturer's instructions. Once dry, lightly sand the surface to remove imperfections or rough spots. This step will help you achieve a smoother surface when you apply the ceiling paint.
Painting
Choosing the right ceiling paint is crucial to achieve the desired result. Here are the steps to follow when painting the ceiling:
Mixing and Pouring the Paint
Mix the ceiling paint thoroughly before pouring it into a paint tray. This ensures that the color is consistent and any settled particles are evenly distributed. Use a paint strainer to catch any debris that may be in the paint.
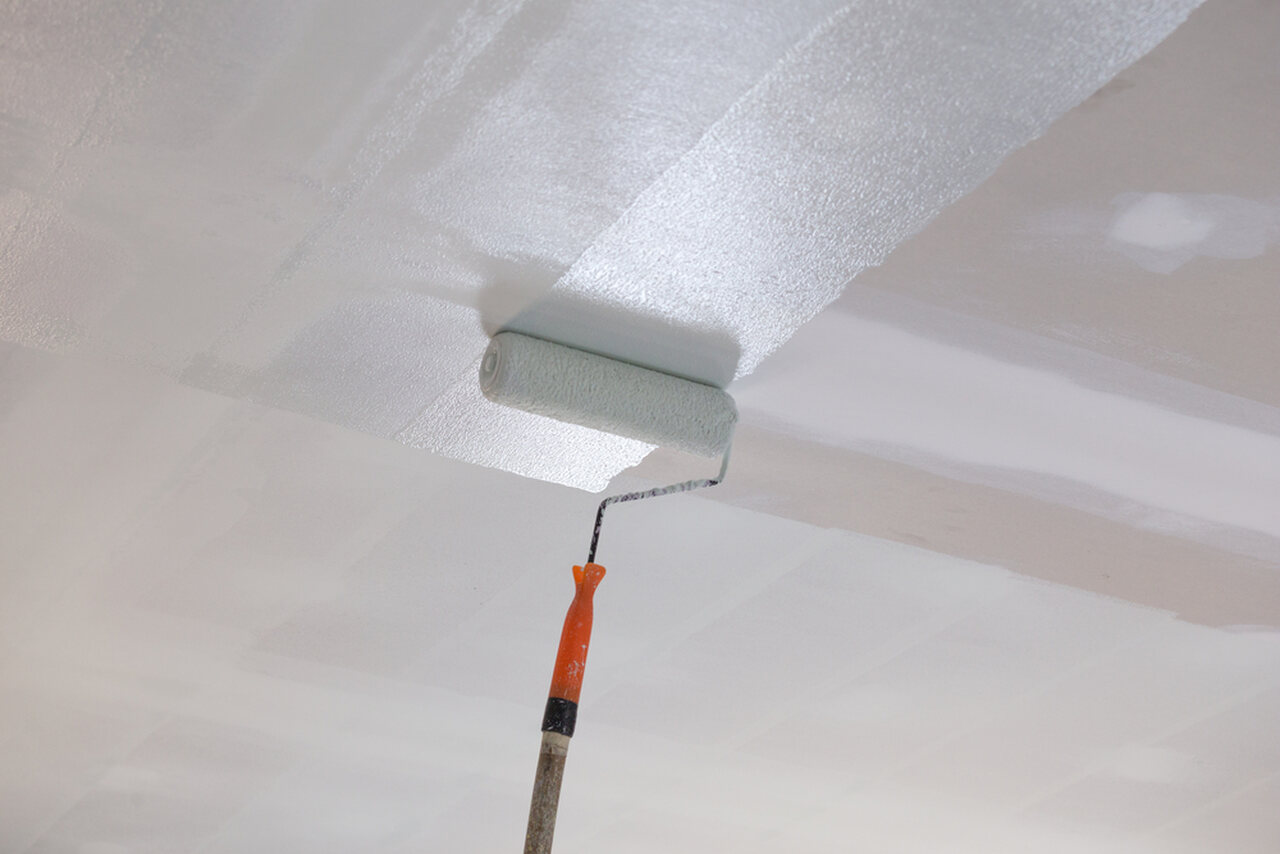
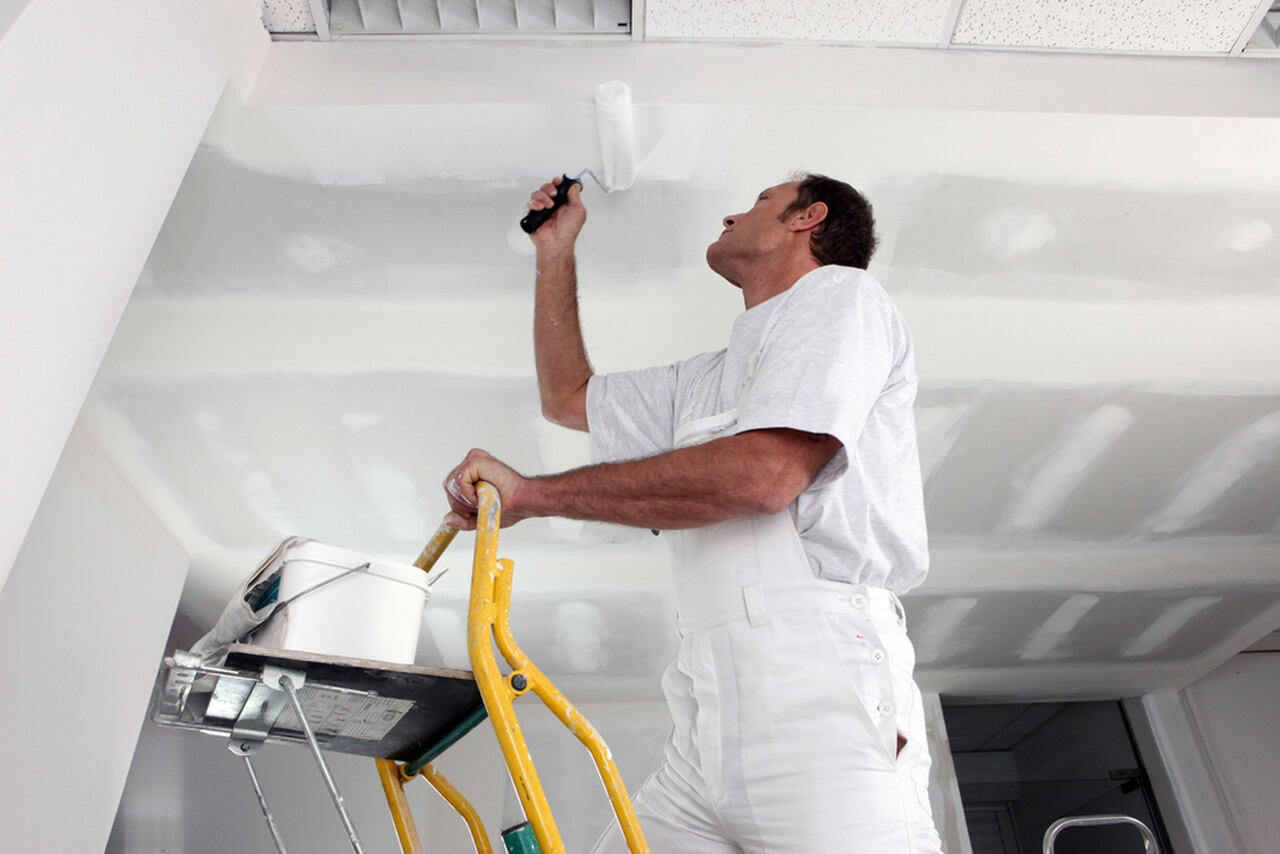
Use a Roller for the Main Ceiling Area
After cutting the edges, switch to a roller for the main ceiling area. Choose a painting method that allows you to evenly distribute the paint with the roller. This technique helps distribute the paint evenly and prevents streaks. Then, fill in the rest of the ceiling with long, even strokes in one direction.
Protecting the Wet Edge
To achieve a smooth, flawless finish, it is very important to maintain a wet edge during painting. This means overlapping the freshly painted area with wet paint to blend the strokes. Avoid allowing the paint to dry between sections to avoid visible streaks or marks.
Apply Additional Coats If Needed
Depending on the color and quality of your ceiling paint, you may need to apply more than one coat. Follow the manufacturer's recommendations for drying times between coats and be sure to sand lightly between coats for a smooth finish.
Cleaning
After you have finished painting the ceiling, it is very important to clean your painting tools and brushes immediately. Use warm, soapy water for water-based paints or a suitable solvent for oil-based paints. Rinse and dry your tools thoroughly to keep them in good condition for future use.
Removing Masking Tape
Remove the masking tape while the paint is still slightly wet. This will help create clean and clear lines. If you wait until the paint is completely dry, you run the risk of peeling off some of the freshly applied paint.
Cleaning the Room and Furniture
Before you bring the furniture back into the room, clean up any splashes or drips of paint. Check your plastic covers for paint spills and clean them too.
Final Touches
After the paint has dried, inspect the ceiling for any touch-ups that may be needed. Sometimes, imperfections become more visible after the paint has completely dried. Touch up these areas with a small brush.
Achieving a Smooth and Even Surface
A smooth and even surface is the hallmark of a professionally painted ceiling. Take your time during the painting process and make sure to follow all the steps carefully to achieve this desired result.
We have come to the end of our article in which we list the steps you need to follow to paint a ceiling. To summarize, painting a ceiling can seem like a daunting task, but with the right tools, materials, and a systematic approach, you can achieve a beautifully painted ceiling that improves the overall look of your room.
So roll up your sleeves, put on your safety equipment, and get ready to enjoy the benefits of a freshly painted ceiling. At the same time, you can easily find the solution you need by looking at the paint and coating products offered by Baumerk! Let us remind you that you can contact Baumerk for all your needs in your projects!