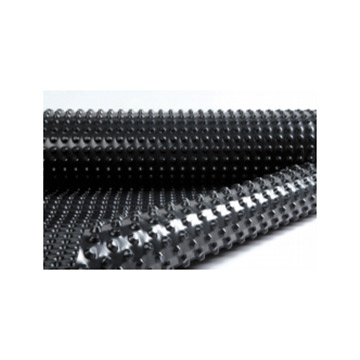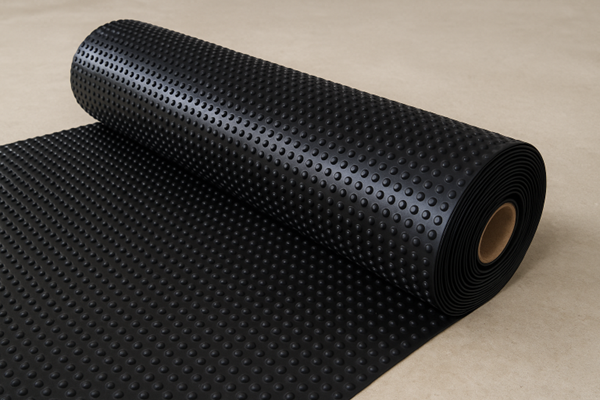
A drainage board, in simple terms, is an insulation material designed to facilitate water drainage. It typically has two surfaces: a dimpled (studded) side and a flat backing surface.
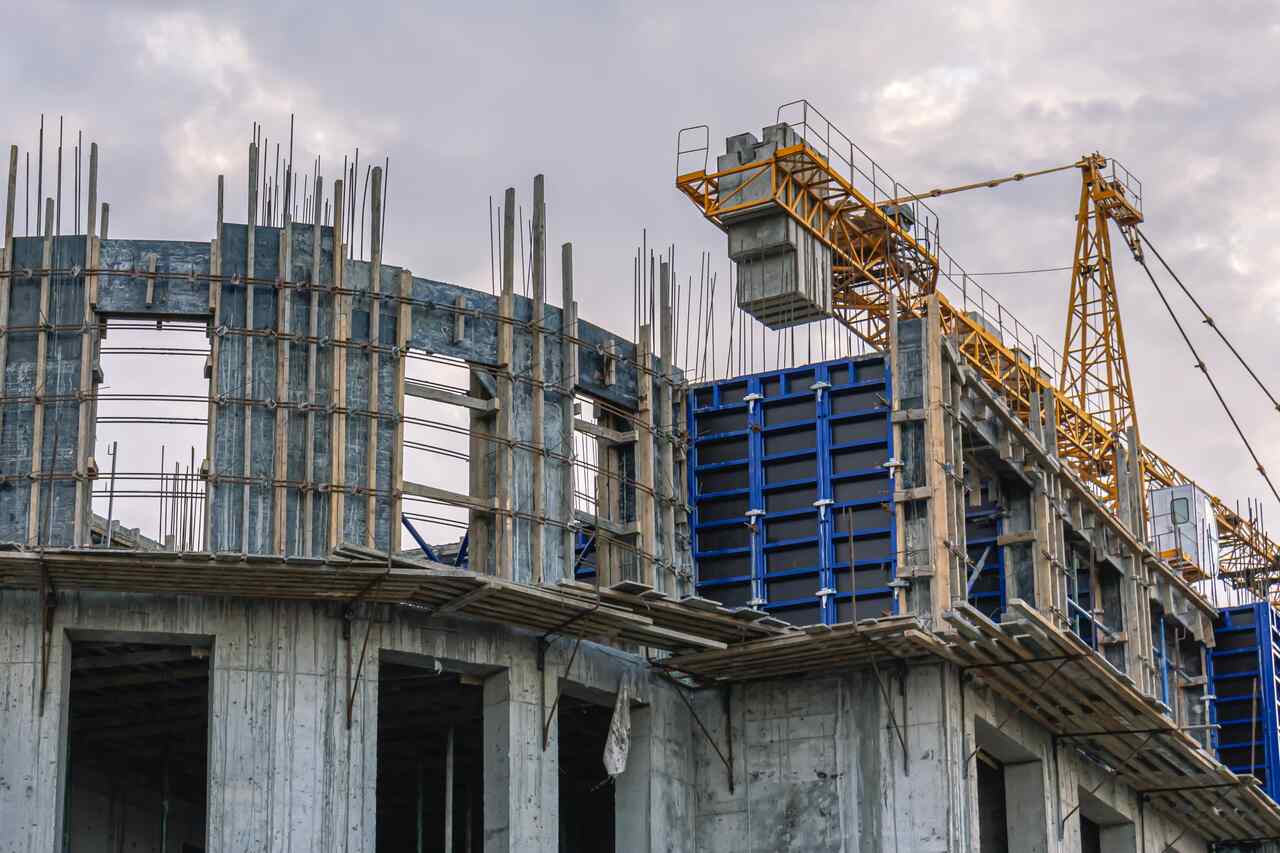
This material is commonly used in foundations, basements, and green roof applications. By using drainage boards, water-related structural damage can be prevented, and their high strength increases the durability of the structure.
In this article, we answer all key questions such as what a drainage board is, what it does, and how it is applied.
What Does a Drainage Board Do?
The primary function of a drainage board is to create an air gap with its dimpled structure, allowing water to be directed in a controlled manner toward the drainage system.
Its main advantages can be summarized as follows:
-
Diverts pressurized water away from the foundation
-
Enhances the adhesion strength of other materials thanks to its dimpled structure
-
Helps separate geotextile felt materials from soil in retaining walls
-
In green roofs, ensures proper water flow and protects plant roots
-
Reduces ground moisture and hydrostatic pressure, preventing water infiltration into building materials
-
Prevents thermal bridging and contributes to energy efficiency
-
Provides air circulation in foundations and retaining walls, helping the structure “breathe” and preventing mold formation
-
Protects waterproofing layers against impacts, backfill pressure, and mechanical damage
In short, a drainage board is a multifunctional product that not only removes water but also extends the lifespan of structures and protects insulation systems.
Drainage Board Dimensions
The dimensions of drainage boards vary depending on the application area and the total square meter requirement of the installation area.
The required size is determined based on factors such as surface width, wall height, and overlap allowances. Manufacturers produce drainage boards in various sizes to suit different applications.
They are generally produced in roll form and vary in width, thickness, and length. Typical dimensions are:
-
Width: 2.0 m
-
Length: 20 m
-
Thickness: 0.5 mm – 8 mm
-
Dimple Height: 8 mm
These measurements are selected based on the total area and drainage requirements. Typically, drainage boards are applied in rolls measuring 2 meters in width and 20 meters in length.
How is a Drainage Board Applied?
Drainage board installation should be carried out according to the manufacturer’s instructions. First, the correct board type must be selected based on the surface conditions.
Factors such as application area size, depth, soil type, and water load are critical in determining the board’s thickness, dimple height, and strength class.
The application steps are as follows:
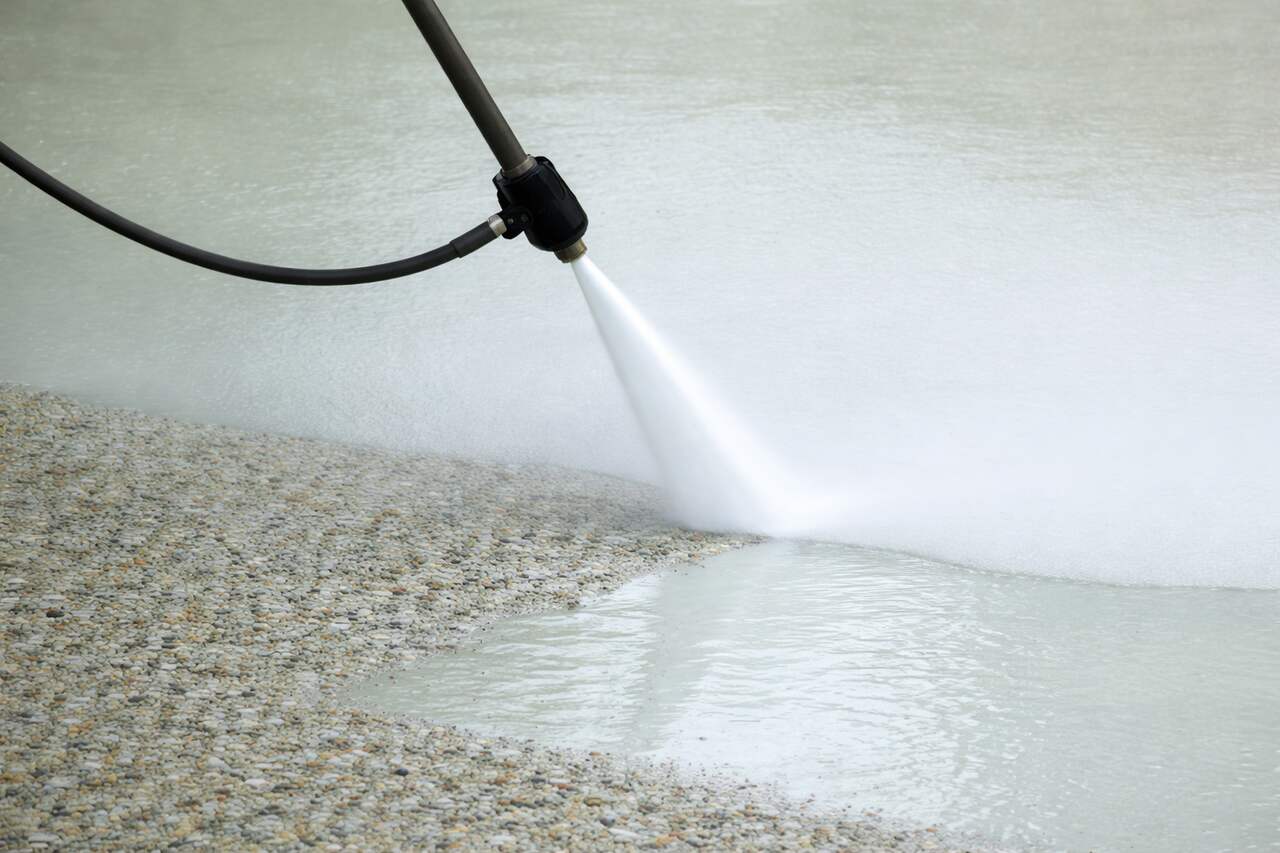
Surface Preparation
Before installation, the concrete surface must be clean, dry, and smooth. Dust, oil, mortar residues, and loose particles must be completely removed.
If a waterproofing membrane has been applied, ensure it is fully cured before installing the drainage board.
Positioning and Placement
The drainage board should be positioned correctly according to the application direction.
For example, Baumerk DRAIN-B drainage boards are installed starting approximately 15 cm above the waterproofing layer. The board is then fixed at intervals of approximately 20 cm from the top using mechanical fasteners or pressure profiles.
Securing the Joints
To enhance watertightness, special drainage tapes or butyl-based adhesive tapes are used at the joints. This also ensures the integrity of the system.
Fixing the Top Edge
The top edge of the board is secured using metal or plastic termination profiles. Additional fasteners may be used if necessary to firmly attach the board to the wall.
This step prevents displacement during backfilling.
Protection and Backfilling
After all boards are installed, backfilling is carried out using fine granular material that will not damage the system.
This layer both supports proper drainage and protects the board from mechanical damage.
After reviewing all details according to the product’s application recommendations, the installation process can begin.
How is a Drainage Board Installed?
Drainage board installation refers to the placement process following surface preparation.
The installation typically starts approximately 15 cm above the waterproofing layer. The dimpled side faces the waterproofing layer, and boards are installed with a minimum overlap of 20 cm.
How Many m² Does a Drainage Board Cover?
The coverage area depends on the dimensions of the board.
Standard rolls sized 2 x 20 meters cover approximately 40 m². The total required quantity is calculated based on the total application area.